
How to take Gorgeous Milk Bath Baby Pictures: Ethically-Sourced Flowers + Vegan Malk
There are plenty of beauty icons associated with the oh-so-classic milk bath—think, Cleopatra, Charlize Theron and Claudette Colbert. To help your babe join those famous ranks, here’s a quick (no-fail) DIY milk bath photography guide.
Step 1 - Gather your Ideal Florals and Greenery
I opted to used some greenery that recently bloomed in the garden that my mum-in-law and I share. Luckily, lilacs and peonies were in season. If you don’t have access to a garden, you can always try to find a local grower of ethical/organic flowers on SlowFlowers. I’m also a big fan of any bouquet from Urban Stems.
Urban Stems is an online flower delivery service that only works with Rainforest Alliance Certified™ farms. It’s a far more ethical way to purchase flowers, especially since Urban Stems pays employees above-average wages, provides access to healthcare, and ensures good working conditions. The bouquets are lovingly designed in collaboration with the farmers themselves. Neato! I also appreciate how the bouquets are completely on trend.
Step 2: Decide on your “Milk” Medium
If you are a bit hesitant about surrounding your baby in cow’s milk, I totally understand. In fact, for this photoshoot I used, unsweetened almond Malk. It’s only three ingredients: non-gmo,organic almonds, Himalayan salt and filtered water. You can also DIY your own almond milk (one of my favorite fellow bloggers has a great recipe here) or, if you have extra frozen breast milk available in your freezer, you can pull out 10-20oz to use.
The natural fats in breastmilk act as an emollient while the lauric acid and IgA antibodies in breastmilk have a subtle antimicrobial effect. Some mums even swear that breastmilk baths help with oh-so-bothersome baby acne.
Step 3: Determine Location and Tub
Natural window light is ideal, but you can always create indirect lighting using the lights on your phones. Choose a tub with enough space on both edges for you to stand comfortably (and safely) above the bath to capture photos. If a luxurious-looking bath is hard to come by, you can always borrow kiddie pool and cover it with a thick white sheet/tarp.
Step 4: Set a Date and Invite Over Two Friends
The rule of three works best for baby bath photoshoots. One friend will man the camera (preferably the tallest friend). A second friend will adjust the flowers and greeny in the water. This leaves you to give 100% of your attention on keeping your baby comfy, entertained and completely safe in the milk bath water.
Obviously, in this photoshoot your babe is your first priority. You never want leave your baby unattended (even to glance at the camera). Instead, trust that your friends will capture lovely pictures. Throughout the shoot (and beforehand) make sure the water level is not too high and that the water temperature is safe—basically, all typical bath rules apply.
Step 5: Have Extra Props on Hand
I used organic cheesecloth to cover my babe’s nakiddity. You might also want to have accessories, favorite toys and tons of extra towels on hand.
Step 6: Take the Photos
Keep things easy-breezy by prepping everything before placing your baby in the bath. Here’s how to prep:
Grab props/towels and a few entertaining toys and put them near the bathtub.
Fill the bathtub with warm water.
Then add the milk/malk. If you add the milk before adding the water it’ll make unattractive bubbles.
Mix the milk and water with your hands
Cut and place greenery in the water
Take a few test-photos to get the lighting just right.
When you’re confident that you’ll get the “look” you want, then go ahead and bring your babe in the water.
Here are a few milk bath photo tips: For brighter/whiter looking milk, opt for the flash, but make sure and have your friend take the photo from a subtle angle so that you don’t get the flash reflecting back. Also, plan on framing your photo with plenty of extra space horizontally and vertically. You can always crop later.
Step 7: Rinse the Babe
After the photoshoot, make sure to rinse your baby off thoroughly. Leaving milk sugars on the skin can occasionally cause a yeast overgrowth.
Step 8: Edit, Edit, Edit
When you edit your photos, (a few options are via VSCOCam, Photoshop Express or Instagram Filters) I’ve found that increasing the exposure and white balance just a touch can really help make the milk “pop”.

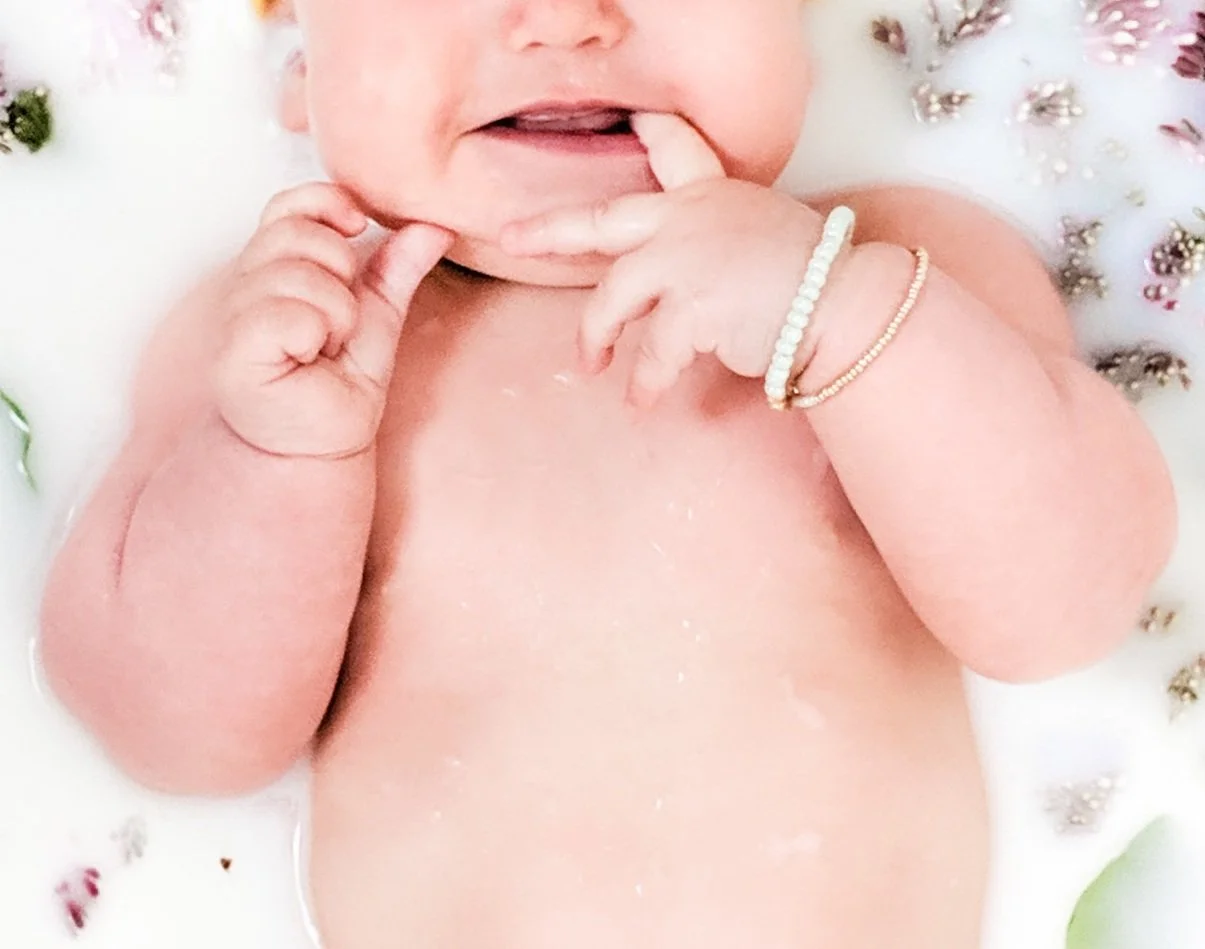
Here’s a gif of baby “R” having the time of her life playing in the Malk water. She is truly oh-so-wonderful! I love getting to hang with her. It’s a blessing to be her mum.
Hope you found this quick DIY guide helpful? I’d love, love, love to see your own baby milk bath photos. If you get a chance, DM the photos of your own little one on Insta?
XOXO,
Lemon

