

Easy Peasy Watercolor Sugar Cookies: The Perfect DIY Dessert Made with Natural Food Coloring
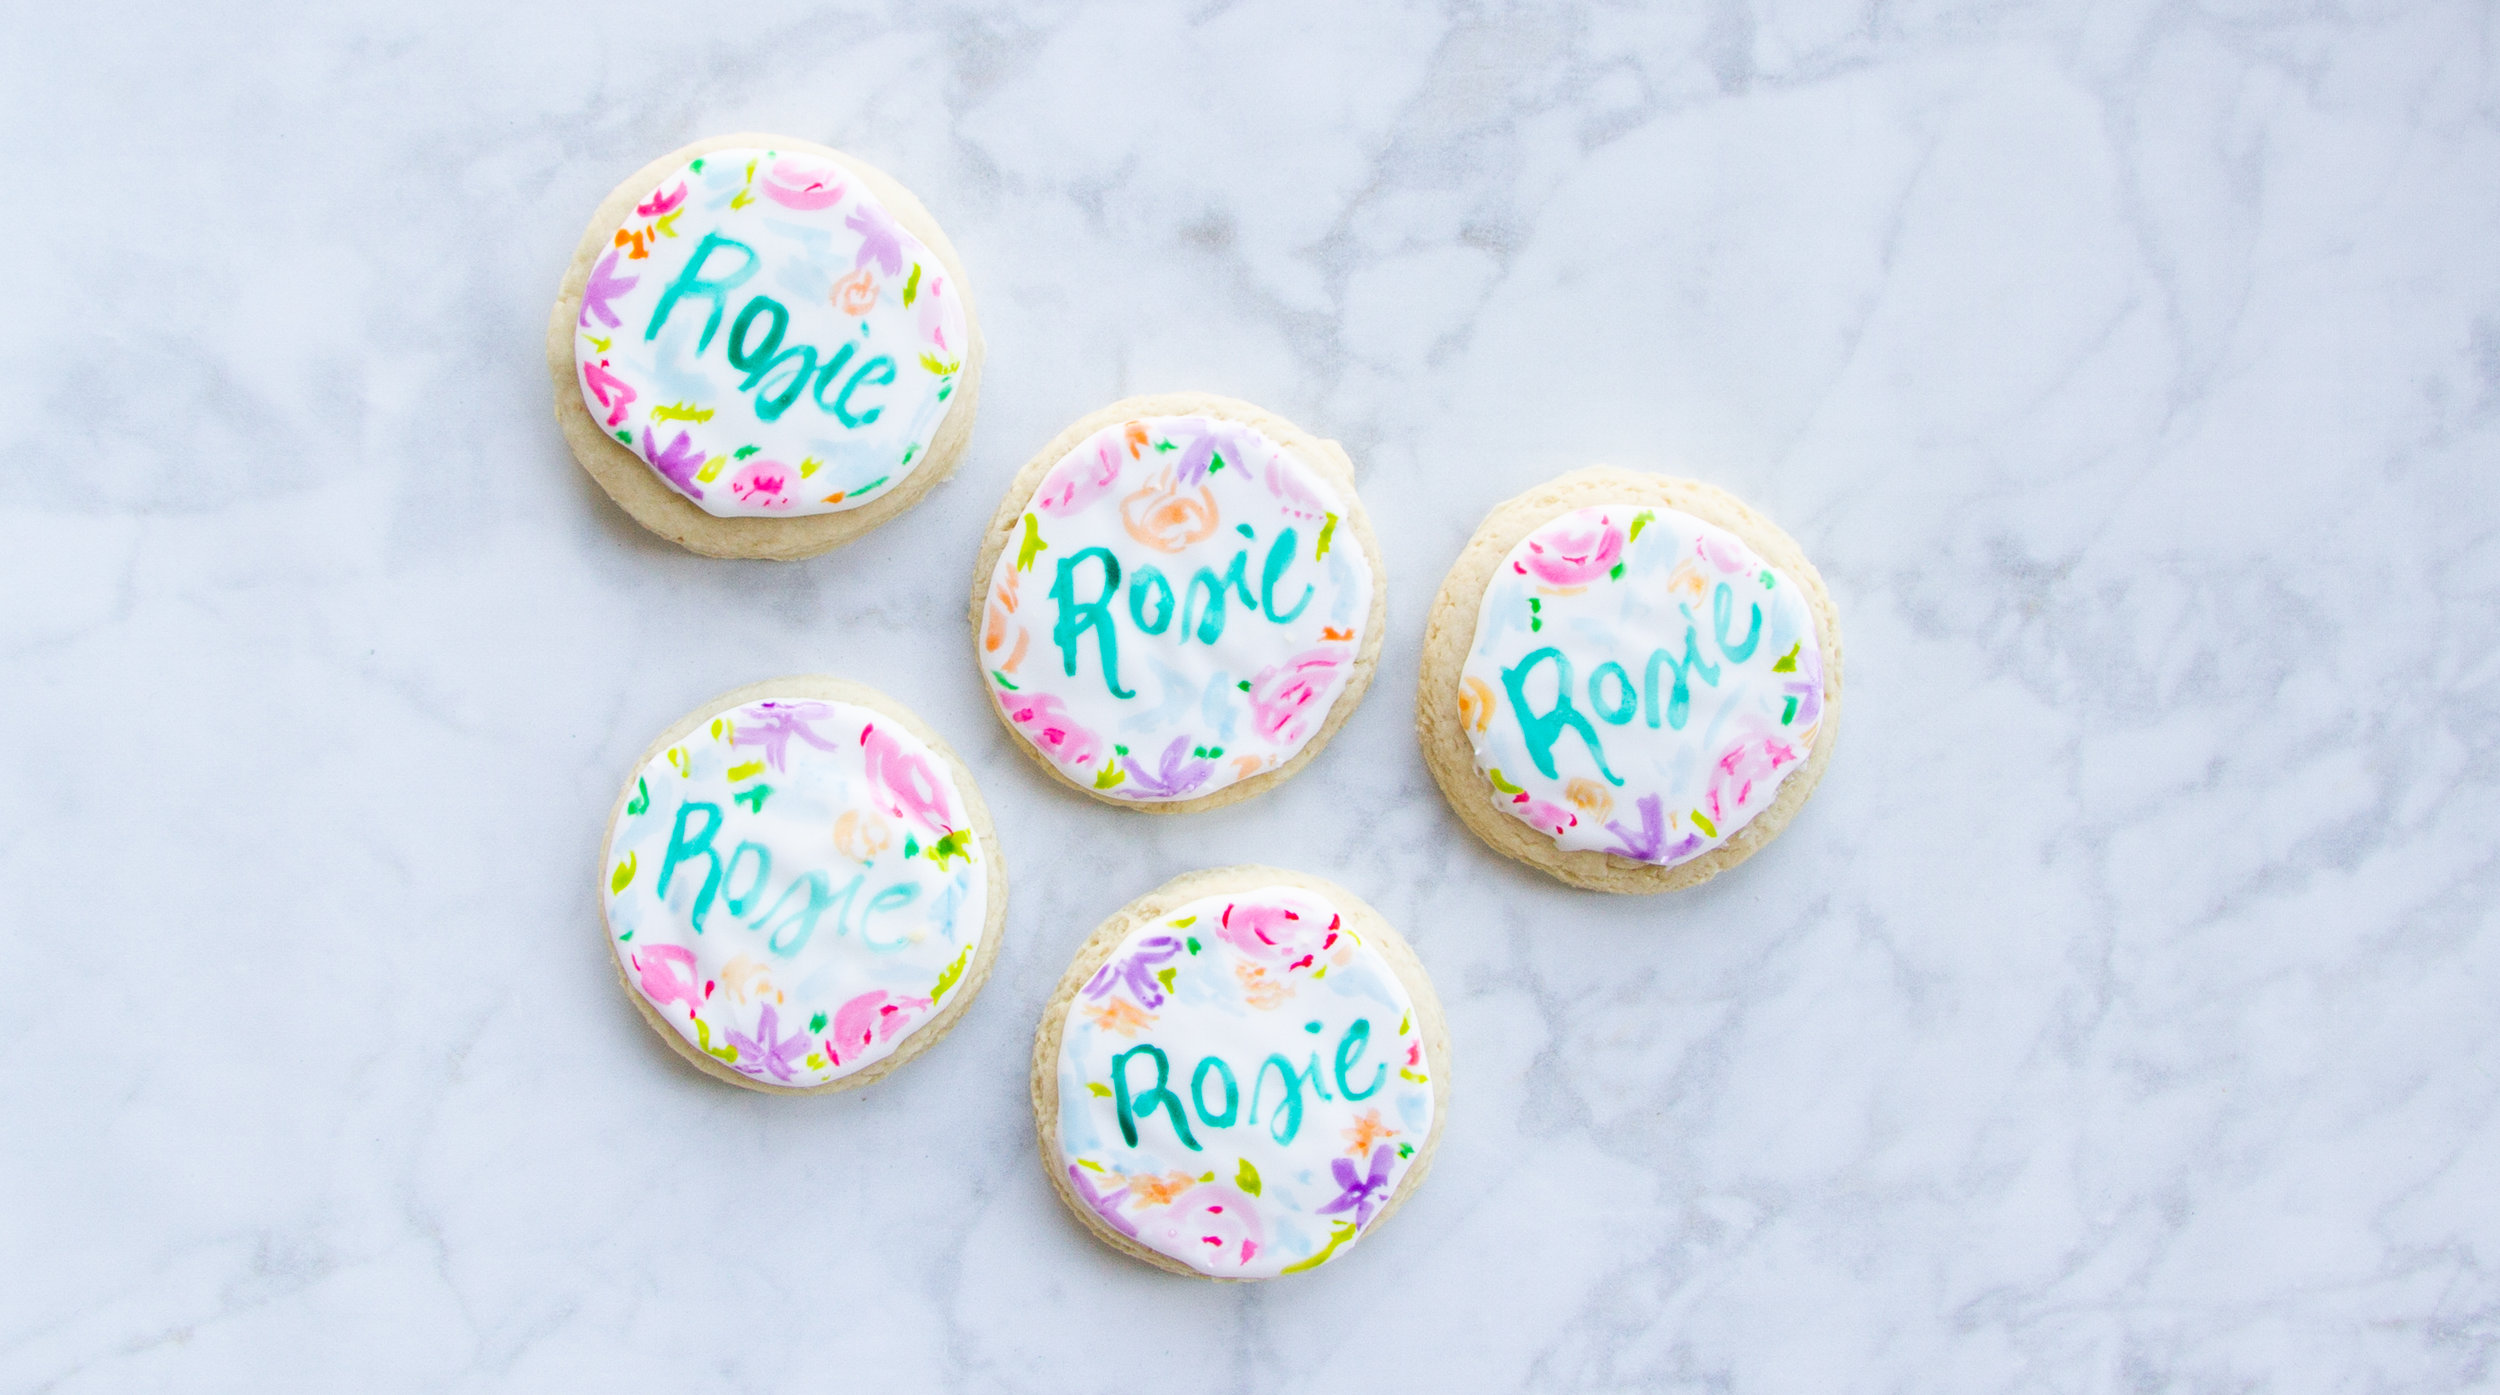
I love adding personal touches to party decor. So, for “R’s” flower-themed baby blessing, I thought it would be fun to try my hand at making some watercolor sugar cookies, complete with hand painted bouquets.
If you are hesitant about painting your flowers with Red 40, Yellow 5 or Blue 2, there’s no need to fear. These cookies are also lovingly painted with natural food coloring—made from fruit and veggie pigments.
I’ll be honest with you. Getting some picture-worthy cookies took me a couple of trial-and-error attempts. In fact, the first time I tried my hand at the icing was on Mother’s Day.
The cookies didn’t even make it close to my mum.
Instead, my husband graciously ate most of the cookies—the icing was a total fail. Anyways, I really, really wanted to nail these. Which means, I kept trying. And (finally) I figured it out. Huzzah!
Here’s my refined recipes + tips and tricks for a no-fail DIY dessert that’ll add the perfect final touch to any summer soirée you have planned.
You, my friend, will succeed at these watercolor cookies!
Oh, also, I need to give a sweet shout out to my lovely Grandma Hodsen. Every summer (before my sister and I would head to Wallowa Lake with my parents) Grandma Hodsen would lovingly make us two dozen, of these scrumptious soft sugar cookies to take with us.
Yep. These are these are the sweet, sweet, sugar cookies of my childhood. And let me tell you. I’m still just as impressed with their taste as an adult.
Grandma Hodsen, generously let me share her recipe with you. You’ll even catch her hands in some of the pictures because I proclaimed the day before the party: Matriarch-Monday! Grandma came over and helped me make the cookies the day before the big baby blessing party. She’s one wonderful grannie!
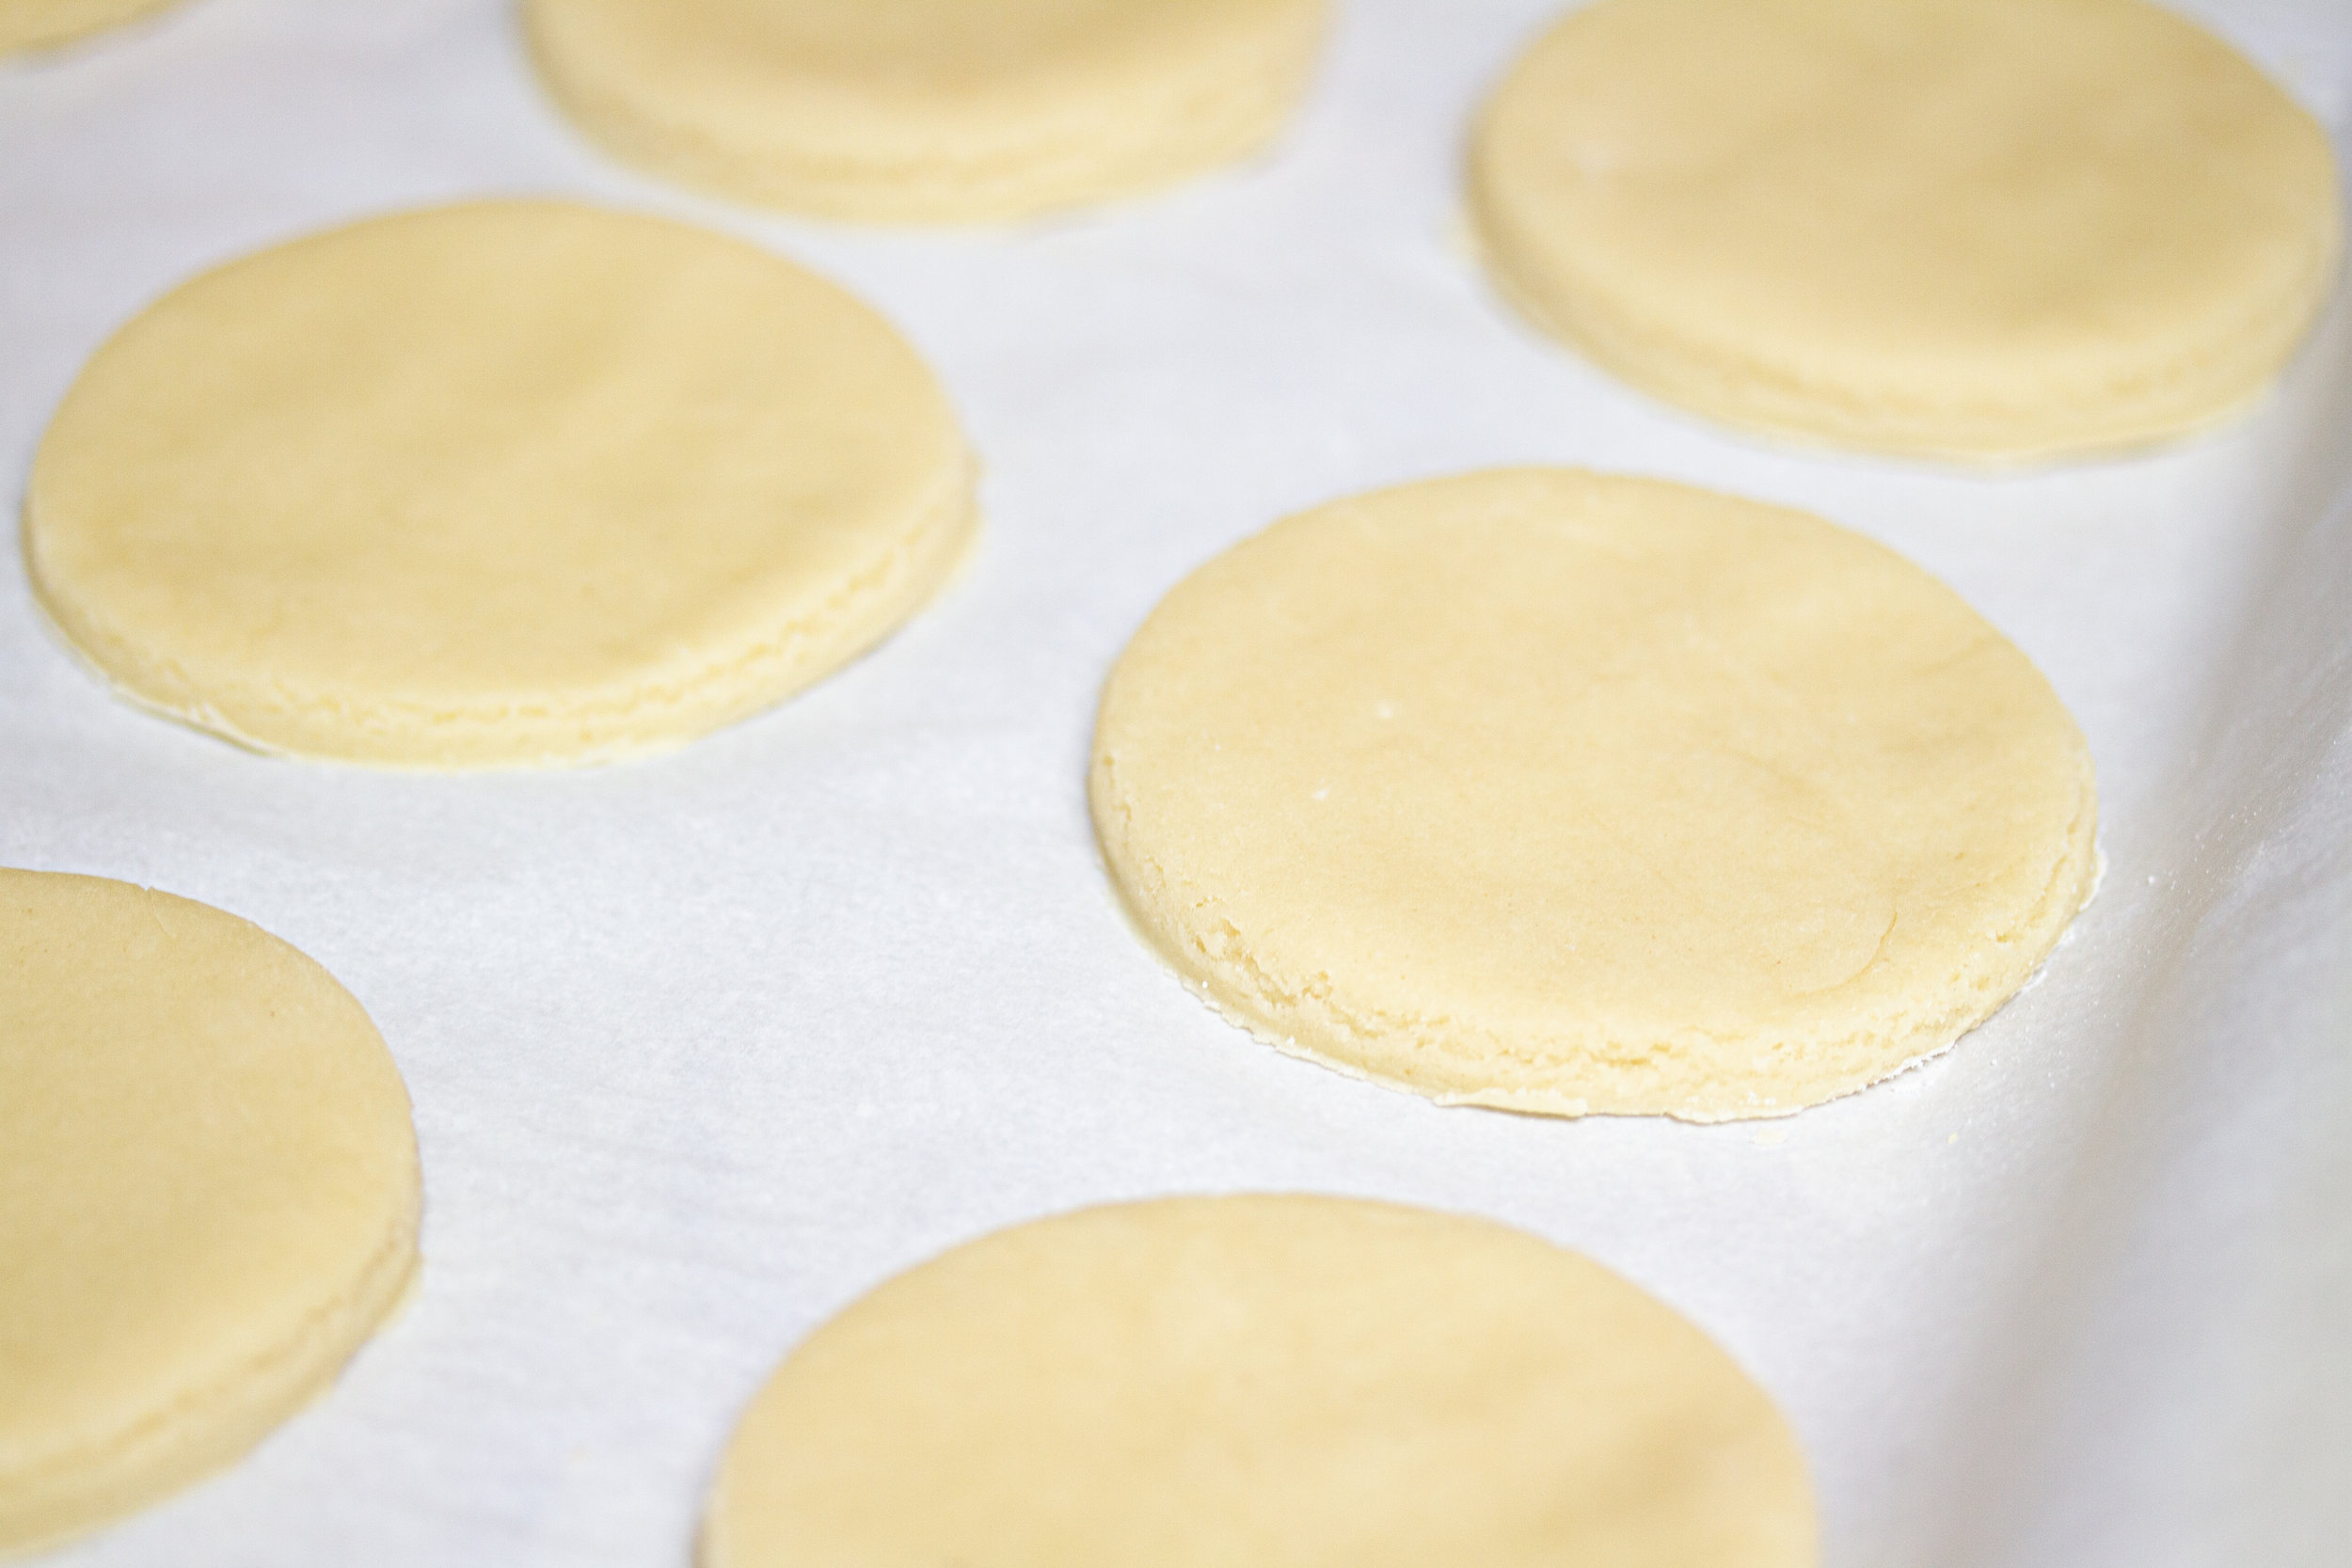
Here’s a quick look cookie dough on the tray. It’s waiting oh-so-patiently for the oven. We rolled out the dough to about 1/4” — Grandma H. always cookie cuts the shapes using a glass jar. I like to joke that she was upcycling glass, before it was even cool. Anyways, I love how easy these cookies are to roll out. Not to sticky, not too flaky. Just right. I also appreciated that Grandma H’s recipe doesn’t mess around with Crisco. It’s all about the good-ole good-for-you butter.


Grandma Hodsen’s Famously Soft Sugar Cookies
Prep time: 20 minutes
Bake time: <10 minutes
Makes approx: 20 cookies
INGREDIENTS:
3 ¼ cups organic unbleached white all purpose flour
½ tsp sea salt
1 tsp organic baking soda (no-aluminum-added)
½ cup free-range butter (softened)
1 cup organic raw sugar
1 egg (try and get a pastured egg from a local farmer if possible)
1 ½ tsp organic vanilla
½ cup organic sour cream
Unbleached parchment paper (Whoops! I totally ran out, so I just used the bleached kind instead for this recipe)
INSTRUCTIONS:
Heat oven to 385°F.
In one bowl, sift together your flour, sea salt and baking soda. Set aside.
In a large bowl, cream together the butter and sugar until smooth. Beat in egg. Gradually blend in the dry ingredients. Then add the vanilla and sour cream.
Roll out dough over a flour-covered counter until the dough is ¼” thick. Sprinkle rolling pin with some flour too.
Use cookie cutters (or the lid of a glass mason jar) to make your shapes. Place cookies on a parchment-covered cookie sheet.
Place cookies in oven for 8 minutes.
Paintable Royal Icing Recipe
Time approx: 15 minutes
Covers approx. 20 cookies
INGREDIENTS
3 tbsp organic meringue powder
1/4 cup water (plus more more for diluting)
4 cups (1lb bag) organic powdered sugar
1 tsp organic vanilla extract
4 drops of almond extract (plus more for coloring)
Natural Fruit/Vegetable Pigment Food Coloring (I usedColorKitchen’s plant-based powders because it’s vibrant but also still has that underline natural tone.)
Small, clean paint brush
INSTRUCTIONS
1. In a bowl, use a handmixer to whisk together your meringue powder and water until it looks fairly foamy. Then add the powdered sugar and vanilla. Mix again for about 2 minutes. Aim for an icing consistency with stiff peaks.
2. Now dilute your icing to piping consistency by adding water (1 tsp at a time) and mix for 30 seconds. You want the frosting to be stiff enough that it holds a peak after you dip/lift your handmixer out of it.
3. Put ¼ of this newly created piping icing into a pastry bag. Leave the rest of the icing in the bowl.
4. Next, grab your batch of sugar cookies (make sure they are completely cooled) and pipe a border around the edge of each cookie. Let the icing border set for a bit (about 5ish minutes).
5. Now dilute (for a second time) the icing you left in your bowl. Aim for the perfect flooding consistency by adding water (1 tsp at a time) and mix for 30 seconds. Then dip a toothpick in the frosting and move it across the surface. The surface of the icing should return to it’s original flatness in about 10ish seconds. Let the icing stand a few minutes to let any air bubbles settle to the surface.
If you accidentally make the icing too thin (I’ve been there!) don’t worry. You can totally salvage it! Just mix in a small amount of powdered sugar to thicken it.
6. Use a spoon to gently flood the area inside your piping. If the icing doesn’t get close enough to the edges of your piping, use a clean toothpick to help smooth/stretch the icing to your edge.
7. Then gently (oh-so-gently) lift your cookie an inch above your tray and drop it 2-3 times to smooth out the icing and get rid of any bubbles.
8. Before you start the next step, wait until your iced cookies feel dry to the touch and have a shell/shiny look (about 2-3ish hours).
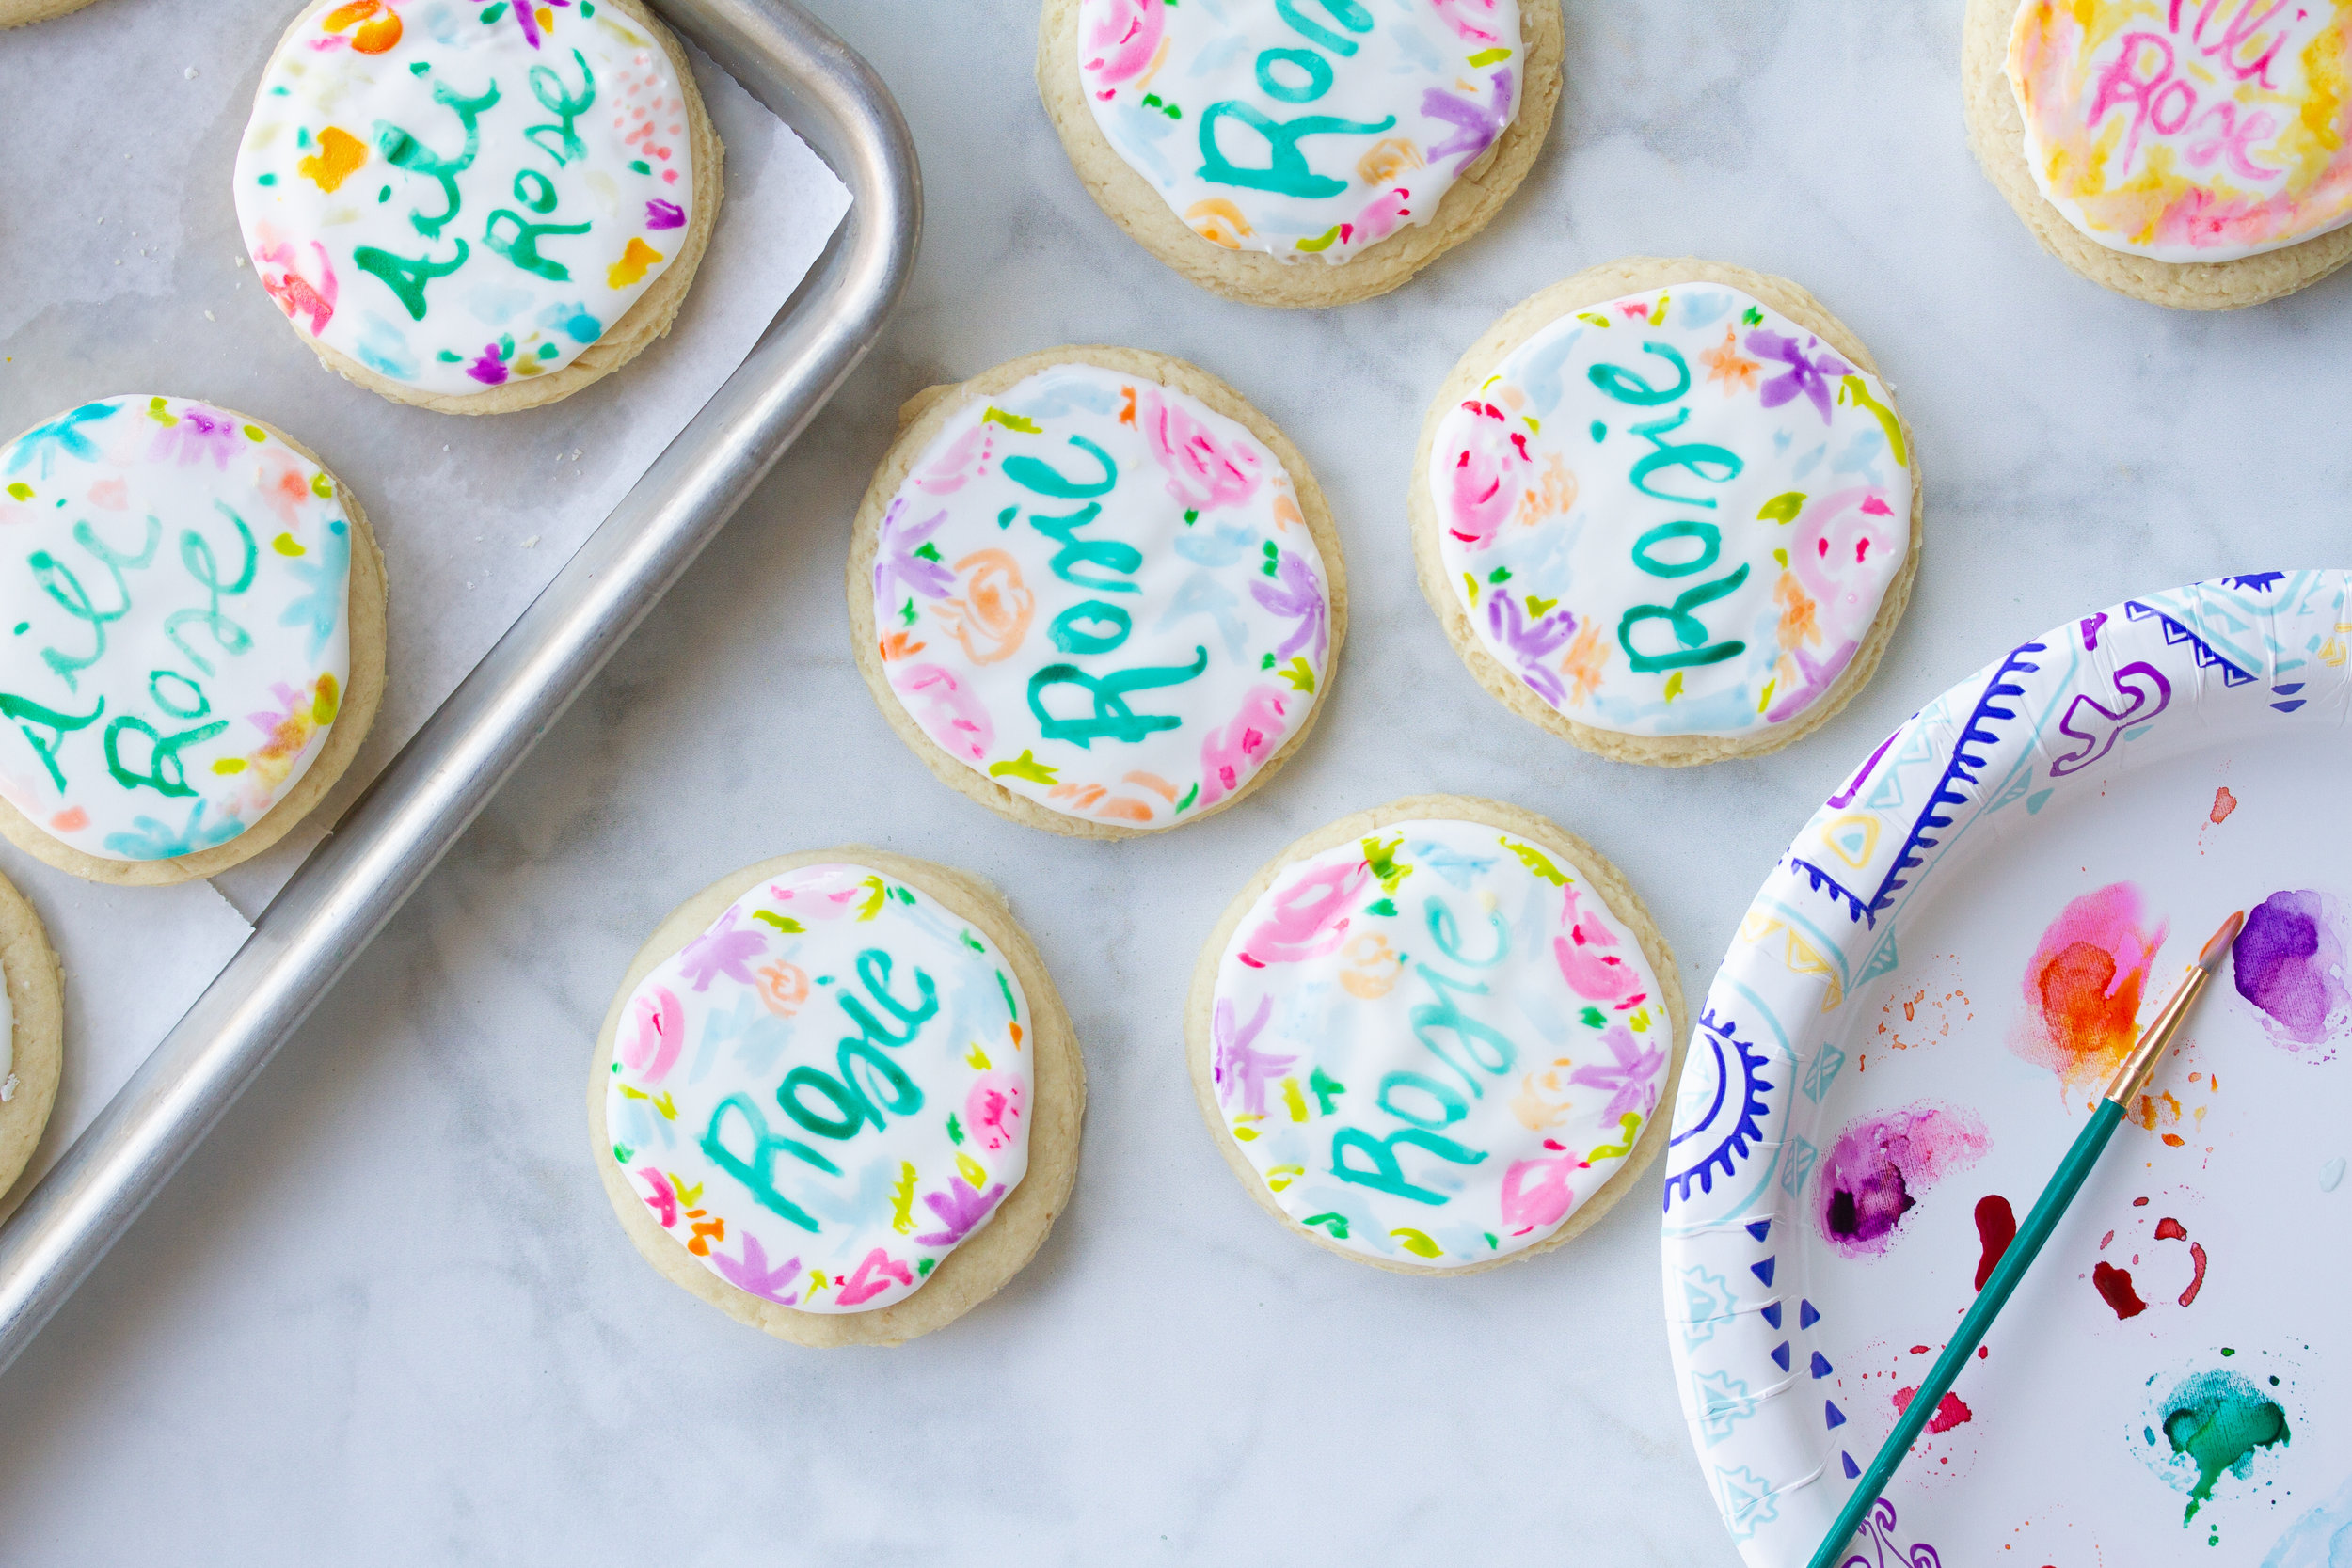
9. Start by creating your edible paint. Add 1 drop of each (red, blue and yellow) food coloring on a plate. Then add 2-3 drops of almond extract to each color. On a separate part of your plate, blend your primary colors to create your secondary colors (purple, orange and green).
I’ve found that you can dilute your food coloring with almond extract (instead of water) to keep the colors extra vibrant all while adding a bit more pizzaz to your icing.
If you are using ColorKitchen’s plant-based food coloring you’ll want to cut the corner of each packet until you can get (the equivalent of) a pinch of each colored powder out on your plate. Then mix the powder directly with 2-3 drops your almond extract first to make your primary colors.
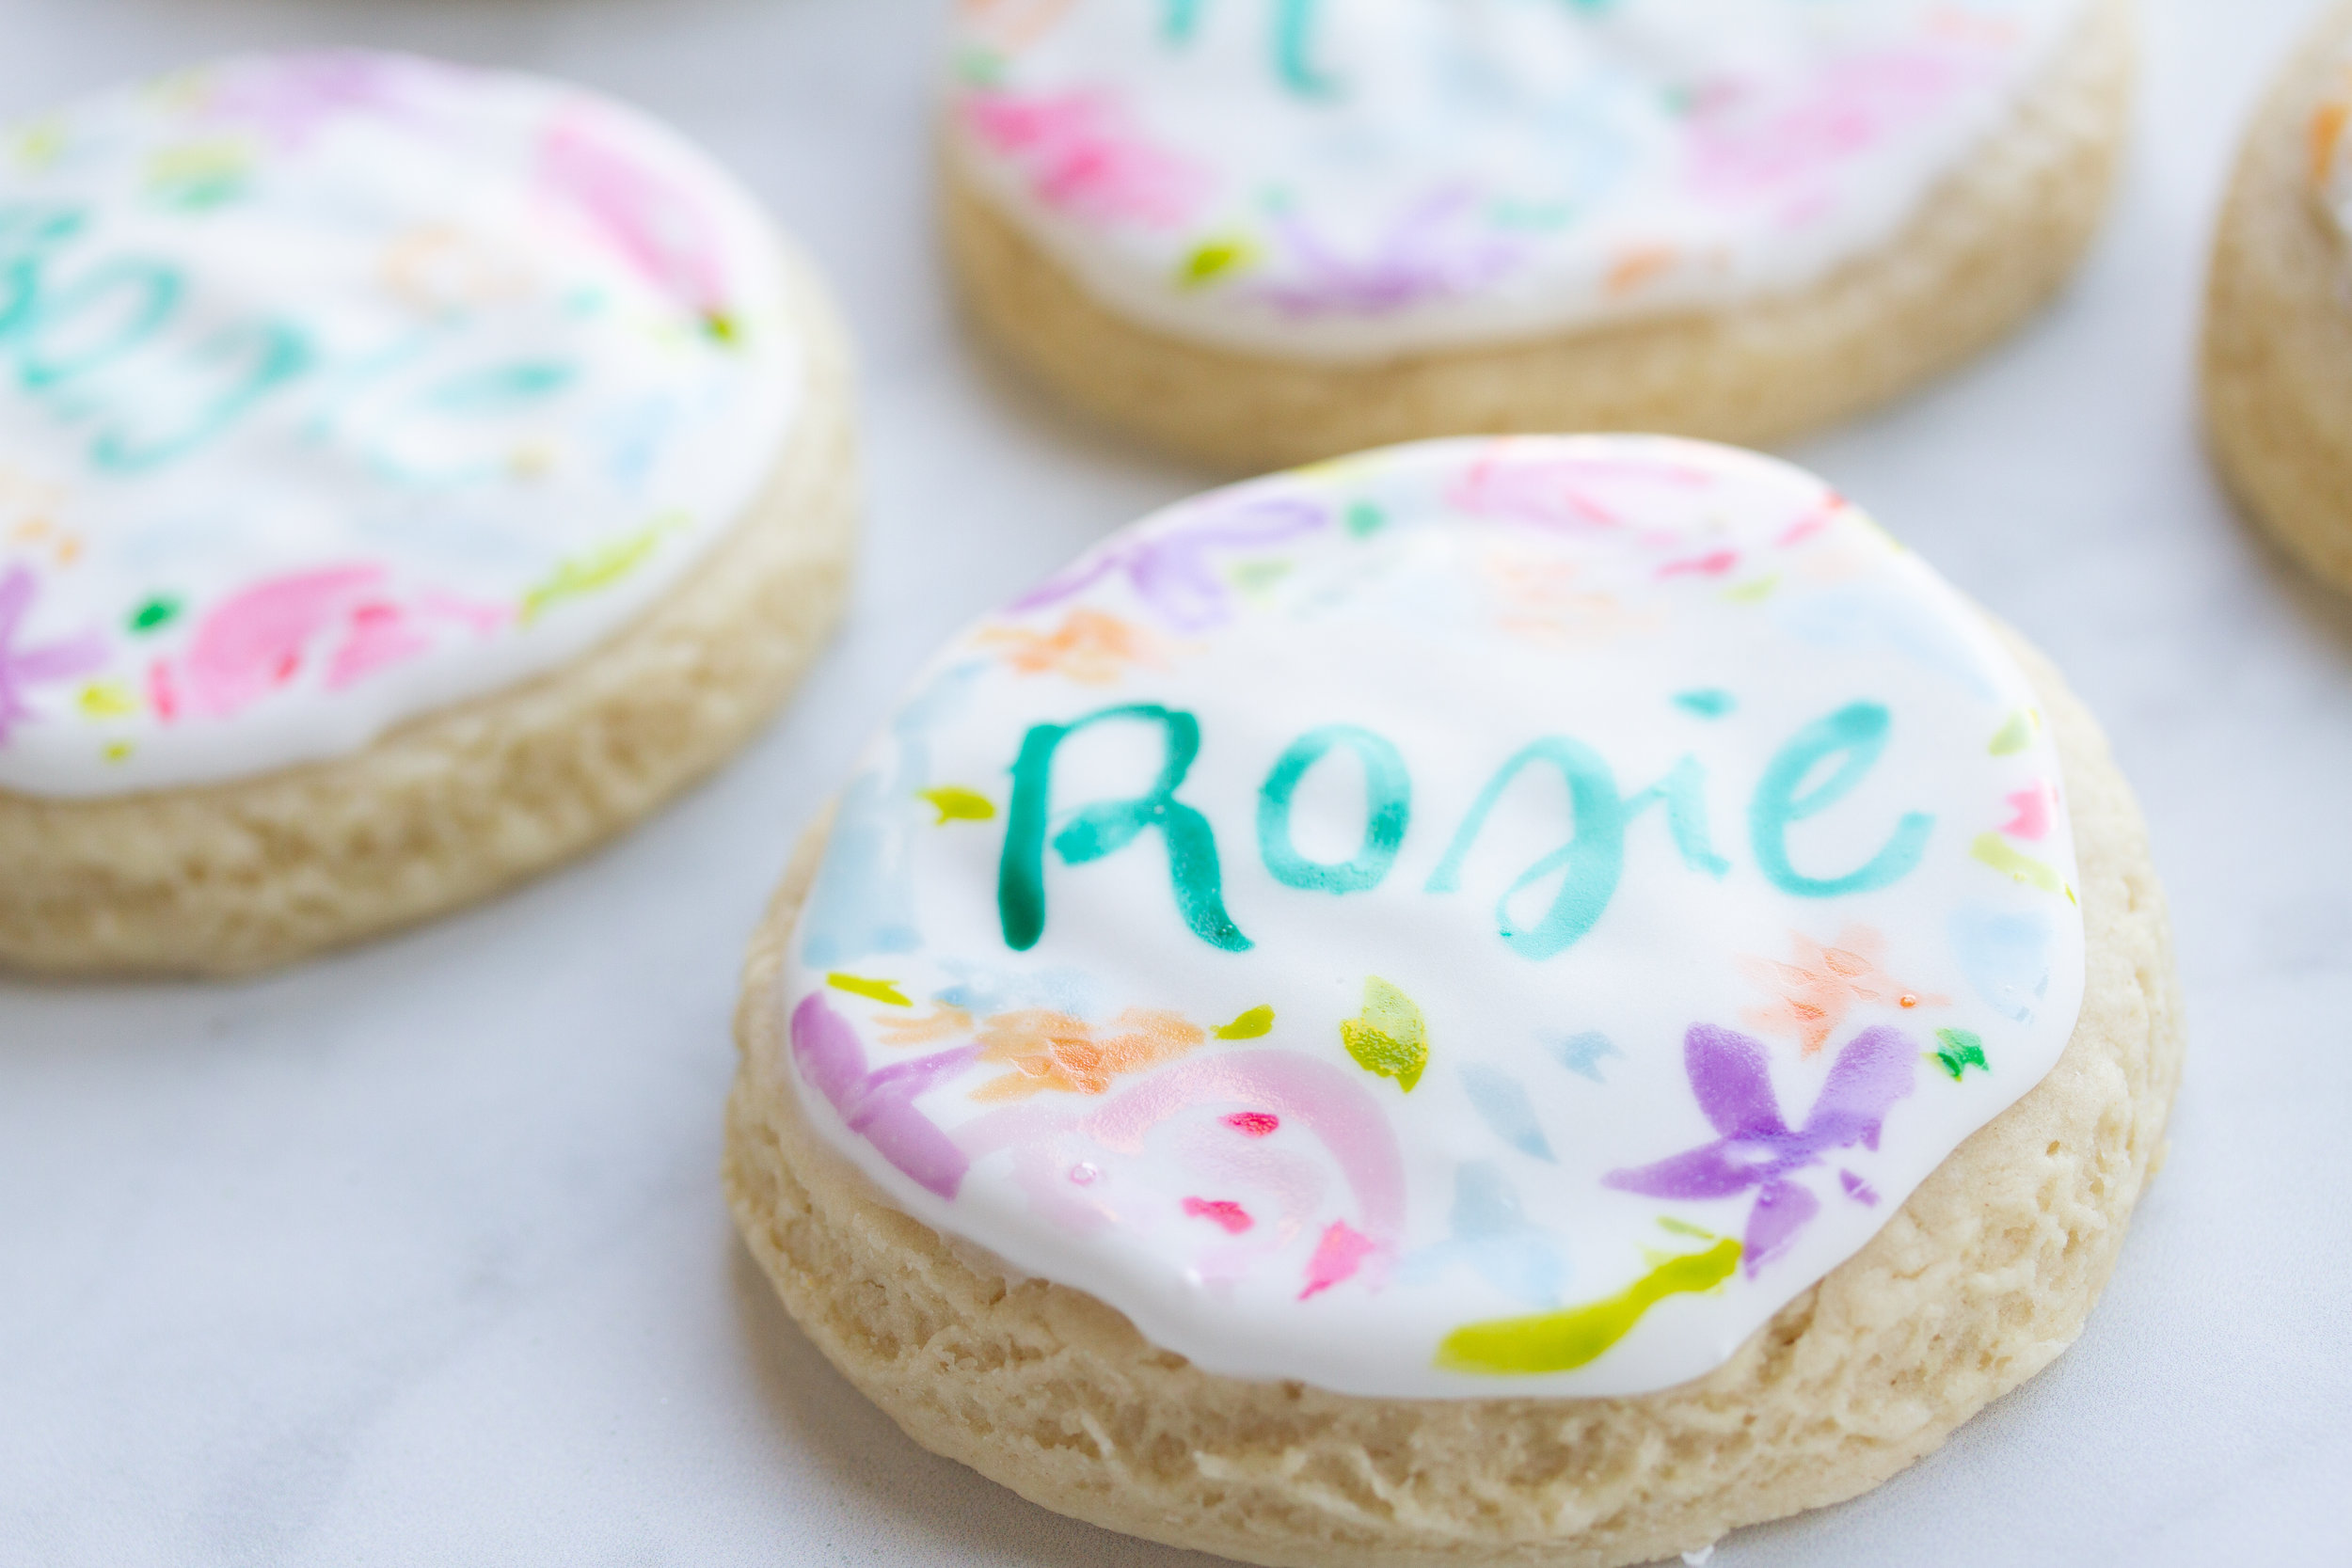
4. Paint away! I usually paint the name in cursive first and surround the name in flowers.
I hope this recipe works wonders for you too! I’d love, love, love to see what your own cookies look like and how else you use the recipe! DM me with your own pictures on Insta, or just comment below!
XOXO,
Lemon

